
The Ultimate Guide: Master the Art of Making Yogurt and Kefir at Home
Are you a fan of creamy, delicious yogurt? Have you ever wondered how you can make it at home? Look no further, because in this ultimate guide, we will teach you how to master the art of making creamy yogurt and kefir!
With its velvety texture and tangy taste, yogurt is not only a nutritious breakfast option but also a versatile ingredient in a wide range of recipes.
In this comprehensive guide, we will walk you through the step-by-step process of creating your own creamy yogurt at home. We will cover everything from selecting the best ingredients to caring for your yogurt cultures, ensuring that you achieve perfect results every time.
Say goodbye to store-bought yogurts filled with additives and preservatives. With our ultimate guide, you'll have the satisfaction of knowing that you're enjoying a homemade, all-natural yogurt that is healthier and more delicious than ever before. Get ready to become a yogurt-making pro and impress your friends and family with your newfound skill!

Why make your own yogurt and kefir?
- Yogurt is a great source of protein, calcium, and probiotics, which help support gut health and boost the immune system. Consuming yogurt can help improve the digestion system and create a powerhouse of nutrition.
- Making your own yogurt is cheaper than buying store-bought. Once you have a batch of homemade yogurt going, all you need to buy to make the next batch is milk.
- Making homemade yogurt allows more control over the ingredients that you're using. Many store-bought varieties add thickening agents or gums. The quality of your milk matters—buy local if you can!

Equipment and Ingredients for Making Yogurt & Kefir:
To get started with making your own creamy yogurt or kefir, you will need a few essential equipment and ingredients. Here's what you'll need:
1. Milk: Choose high-quality whole milk for the best results. You can also use low-fat or skim milk if you prefer a lighter yogurt, but keep in mind that the texture may be slightly different.
2. Kefir grains or kefir starter culture: Kefir grains are small, gelatinous clusters of bacteria and yeast that ferment milk. They can be purchased online or obtained from a friend who already makes kefir. Alternatively, you can use a kefir starter culture, which is a powdered form of kefir grains.
3. Yogurt cultures: Greek yogurt is typically made with a combination of Lactobacillus bulgaricus and Streptococcus thermophilus cultures. You can purchase these cultures in powder or capsule form from specialty stores or online.
4. A thermometer: To ensure that the milk is heated to the correct temperature for culturing, a food thermometer is essential.
5. A large pot: You'll need a pot to heat the milk and keep it at a steady temperature during the culturing process.
6. A whisk or spoon: To mix the milk and cultures together thoroughly.
7. Jars or containers: Once the yogurt is ready, you'll need jars or containers to store it in the refrigerator.
Step-by-step instructions for making yogurt at home:
Ingredients:
- 1 gallon (4 L) whole-fat milk, pasteurized or raw, preferably unhomogenized
- 3⁄4 cup kefir or yogurt
- Heat the milk: Pour the milk into a large pot and heat it over medium heat until it reaches a temperature of 185°F. Stir occasionally to prevent the milk from scorching.
- Maintain Temperature: Keep the temperature from 30 min to an hour. The longer you cook it, the thicker your yogurt will be. This step helps the proteins denature to be better coagulated during fermentation.
- Cool the Milk: Remove the pot from heat and let milk cool to 110°F (43°C). Don’t have a thermometer? A good trick is to dip your finger in the milk—if you have to pull it out after 10 seconds, the temperature is just right.
- Add the cultures: Once it reaches desired temperature, add the yogurt cultures. Use a spoon to mix thoroughly.
- Incubate the mixture: Pour the mixture into jars, screwing on the lids tightly. Incubate at 100–110°F (39–43°C) for 6 to 12 hours, keeping the jars in a warm spot, such as an insulated cooler filled with warm water, or a warm oven with the light on. We used a sous vide (Joule) which maintains the temperature while notifying when the cook time is done. The longer your yogurt ferments, the tangier it is.
- Refrigerate and strain: Once finished, transfer to the fridge to slow down fermentation. If you prefer a thicker Greek-style or Icelandic yogurt, strain using a cheesecloth or fine mesh strainer for a few hours to remove excess whey.
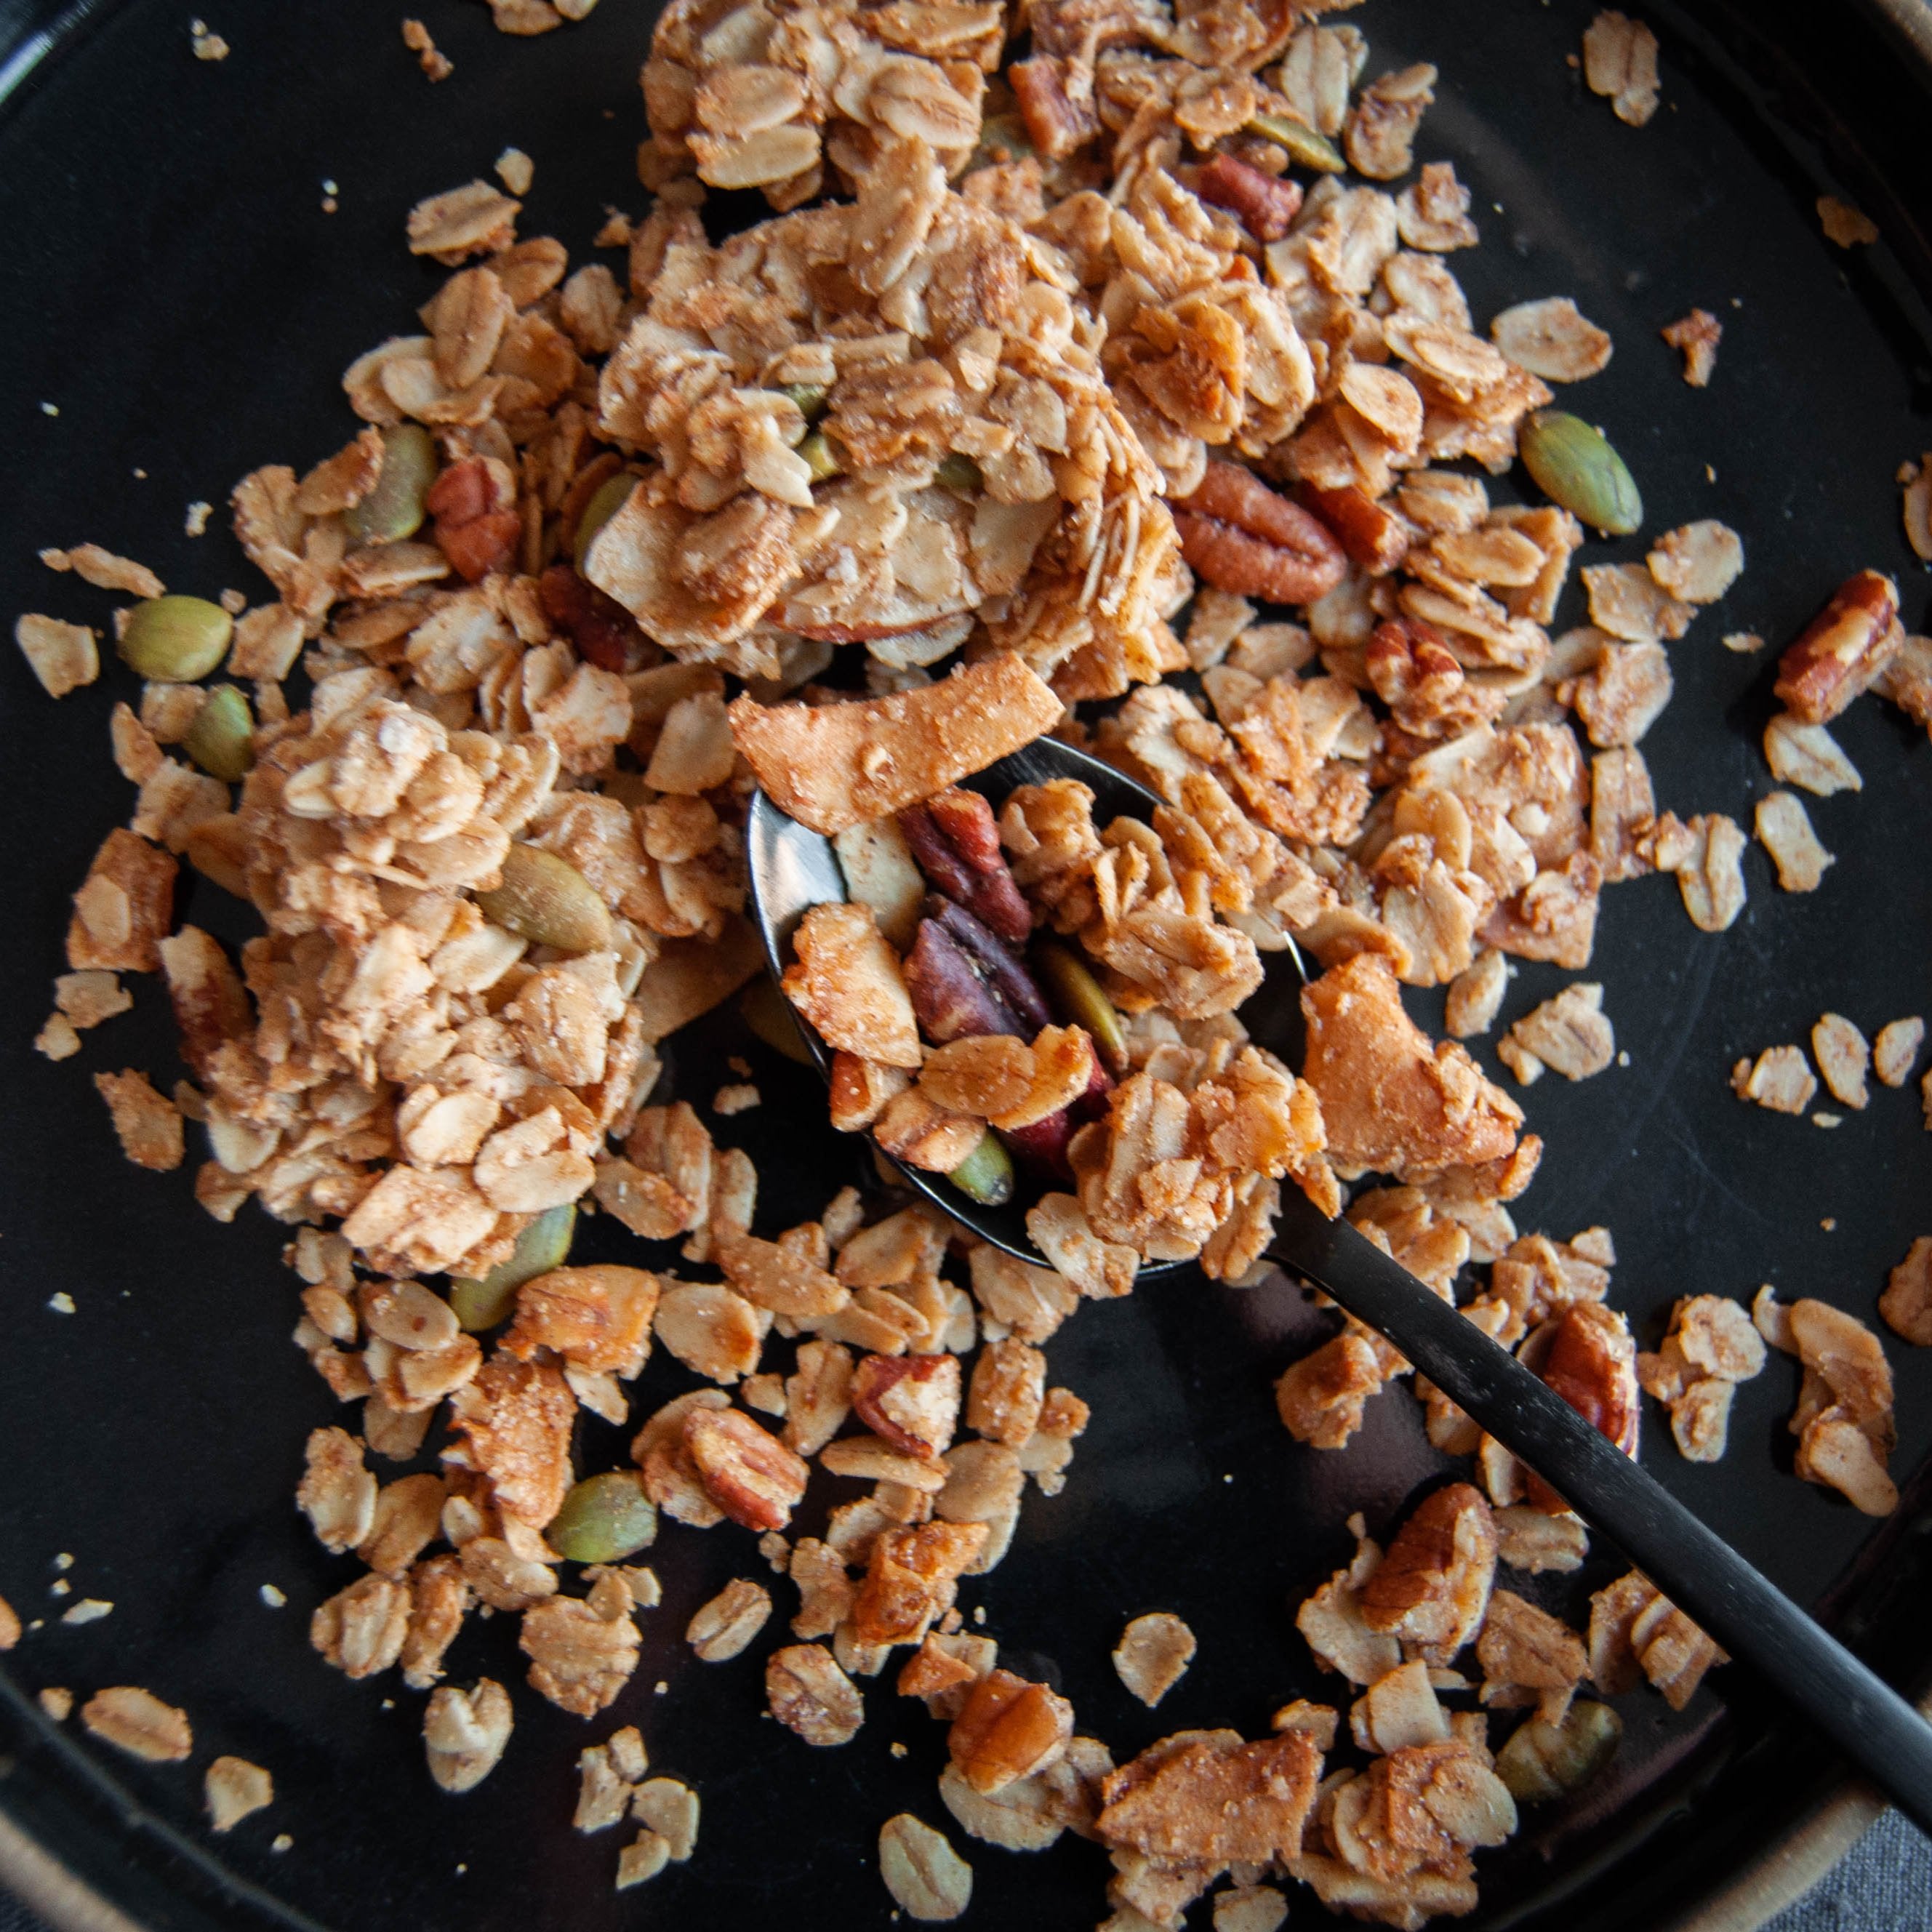
- Enjoy your homemade yogurt: your yogurt is now ready to be enjoyed! Serve it plain, or add your favorite toppings such as fresh fruits, nuts, honey, or granola for added flavor.
Troubleshooting common issues in making yogurt at home:
Sometimes, even with the best intentions, things may not go as planned when making yogurt at home. Here are some common issues you may encounter and how to troubleshoot them:
1. Thin or runny yogurt: If your yogurt turns out thinner than desired, it may be due to not incubating it for a long enough time or at the correct temperature. Make sure to follow the recommended incubation time and temperature for optimal results.
2. No tanginess: If your yogurt lacks the tangy flavor characteristic of Greek yogurt, it may be because the cultures were not active or the incubation temperature was too low. Check the temperature and quality of your cultures to ensure they are viable.
3. Grainy texture: A grainy texture can occur if the milk is overheated during the heating process or if the yogurt is stirred too vigorously after culturing. To avoid this, heat the milk slowly and avoid excessive stirring.
4. Mold or off flavors: If you notice mold or off flavors in your yogurt, it may be due to contamination. Make sure to thoroughly clean and sterilize all equipment before use to prevent unwanted bacteria or yeast from affecting the fermentation process.




Leave a comment
This site is protected by hCaptcha and the hCaptcha Privacy Policy and Terms of Service apply.